Configure Chat Desk settings
As a Supervisor, you can configure settings and preferences so that your Chat Desk product is best suited to serve your needs.
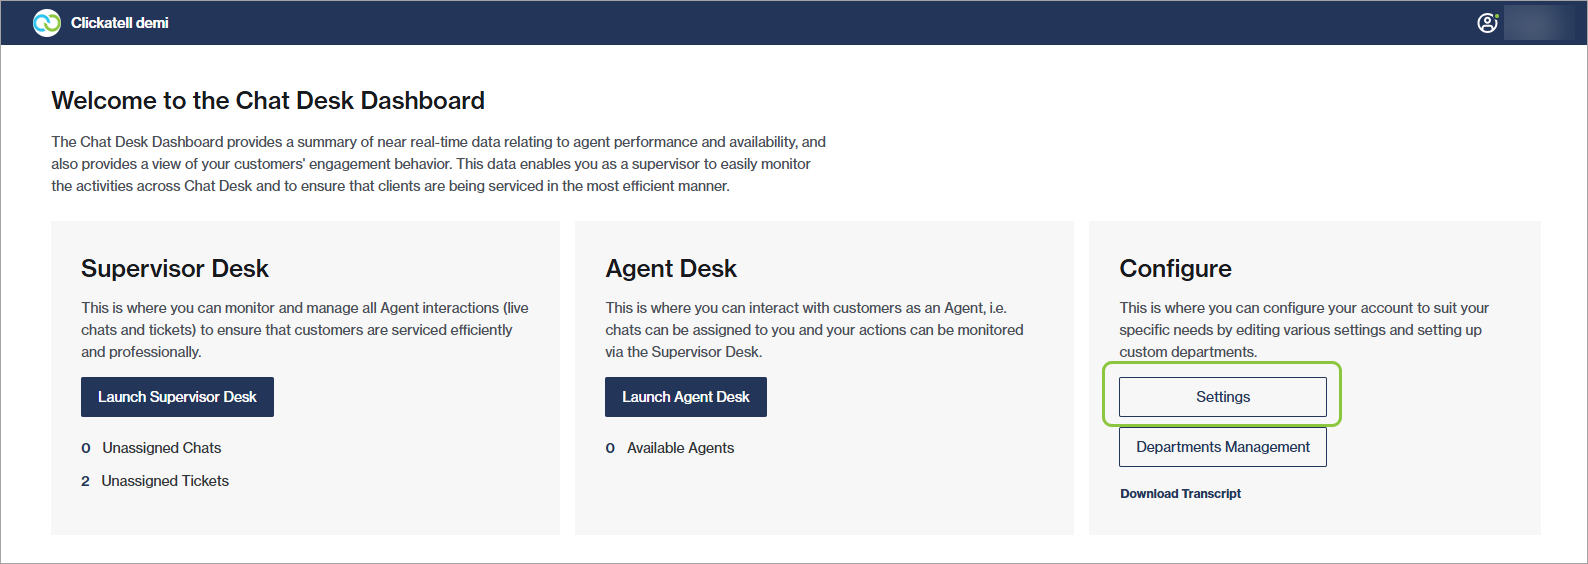
From the Chat Desk dashboard, click Settings.

2. From here you can add and edit:
Business profile: Update business name, industry, logo, and location; set agent support hours.
Chat tags: Manage custom tags that agents can use to label chats.
Auto-responders: Enable and edit messages sent automatically to customers in specific situations.
Preferences: Set preferences around agent capacity, chat routing and distribution behavior, timers, and timeouts.
Surveys: Create surveys to send to your customers at the end of a chat to gather valuable information about their overall experience and satisfaction levels.
Canned Replies: Create pre-written replies that agents can use in their chats to save time resolving tickets.
Integrations: Select the customer fields that agents can view in the Agent Desk for each of the 3rd party applications active in your Clickatell account.
Clickatell AI: Enable/disable an AI assistant trained on your business information to help your agents respond quicker and more accurately using AI-generated suggested responses.