Chat Desk User Guide
User GuidesRelease NotesFAQsSupport
  • 🏠Return to Home Page
  • 🔎Overview
    • Chat Desk Overview
  • 💻Chat Desk Dashboard
    • Access the Chat Desk Dashboard
    • Configure Chat Desk settings
      • Business profile
      • Chat tags
      • Auto responders
      • Preferences
      • Surveys
      • Canned replies
      • Integrations
      • Clickatell AI
    • Manage departments
    • Download transcripts
  • 🤝Agent Desk
    • Access & navigate the Agent Desk
    • Manage chat queues (Agent Desk)
      • Chats and tickets
      • Manage tickets
      • Pending chats
      • Close chats
    • Search, filter, and sort chats & tickets
    • Chat capabilities
      • Send attachments (media files)
      • Send voice recordings
      • Send emoticons
      • Share locations
      • Use canned replies
      • View chat events
      • Send 1-way SMS
    • Use suggested responses (Clickatell AI)
    • Authenticate customers
    • Send payment requests via Chat 2 Pay
    • View customer details from 3rd party applications
    • Send WhatsApp message templates
    • Transfer chats
    • Manage customer profile
  • 🦸Supervisor Desk
    • Access & navigate the Supervisor Desk
    • Manage chat queues (Supervisor Desk)
      • Chats and tickets
      • Manage tickets
    • Search, filter, and sort chats & tickets
  • 📊Reporting & Analytics
    • Dashboard Metrics
    • Clickatell Portal Reports
  • 💡Help & Information
    • What's New? 🎈
    • Release Notes
    • FAQs
    • Return to Home Page
Powered by GitBook
LogoLogo

© Copyright 2024 Clickatell. All rights reserved.

On this page
  • Add new department
  • Manage departments
  1. Chat Desk Dashboard

Manage departments

PreviousClickatell AINextDownload transcripts

Last updated 5 months ago

As a Supervisor, you can set up departments (e.g., Sales, Technical, Billing) and group your agents accordingly. When engaging with a customer, agents can transfer the chat to a specific department or agent within a department based on the expertise the customer requires.

Add new department

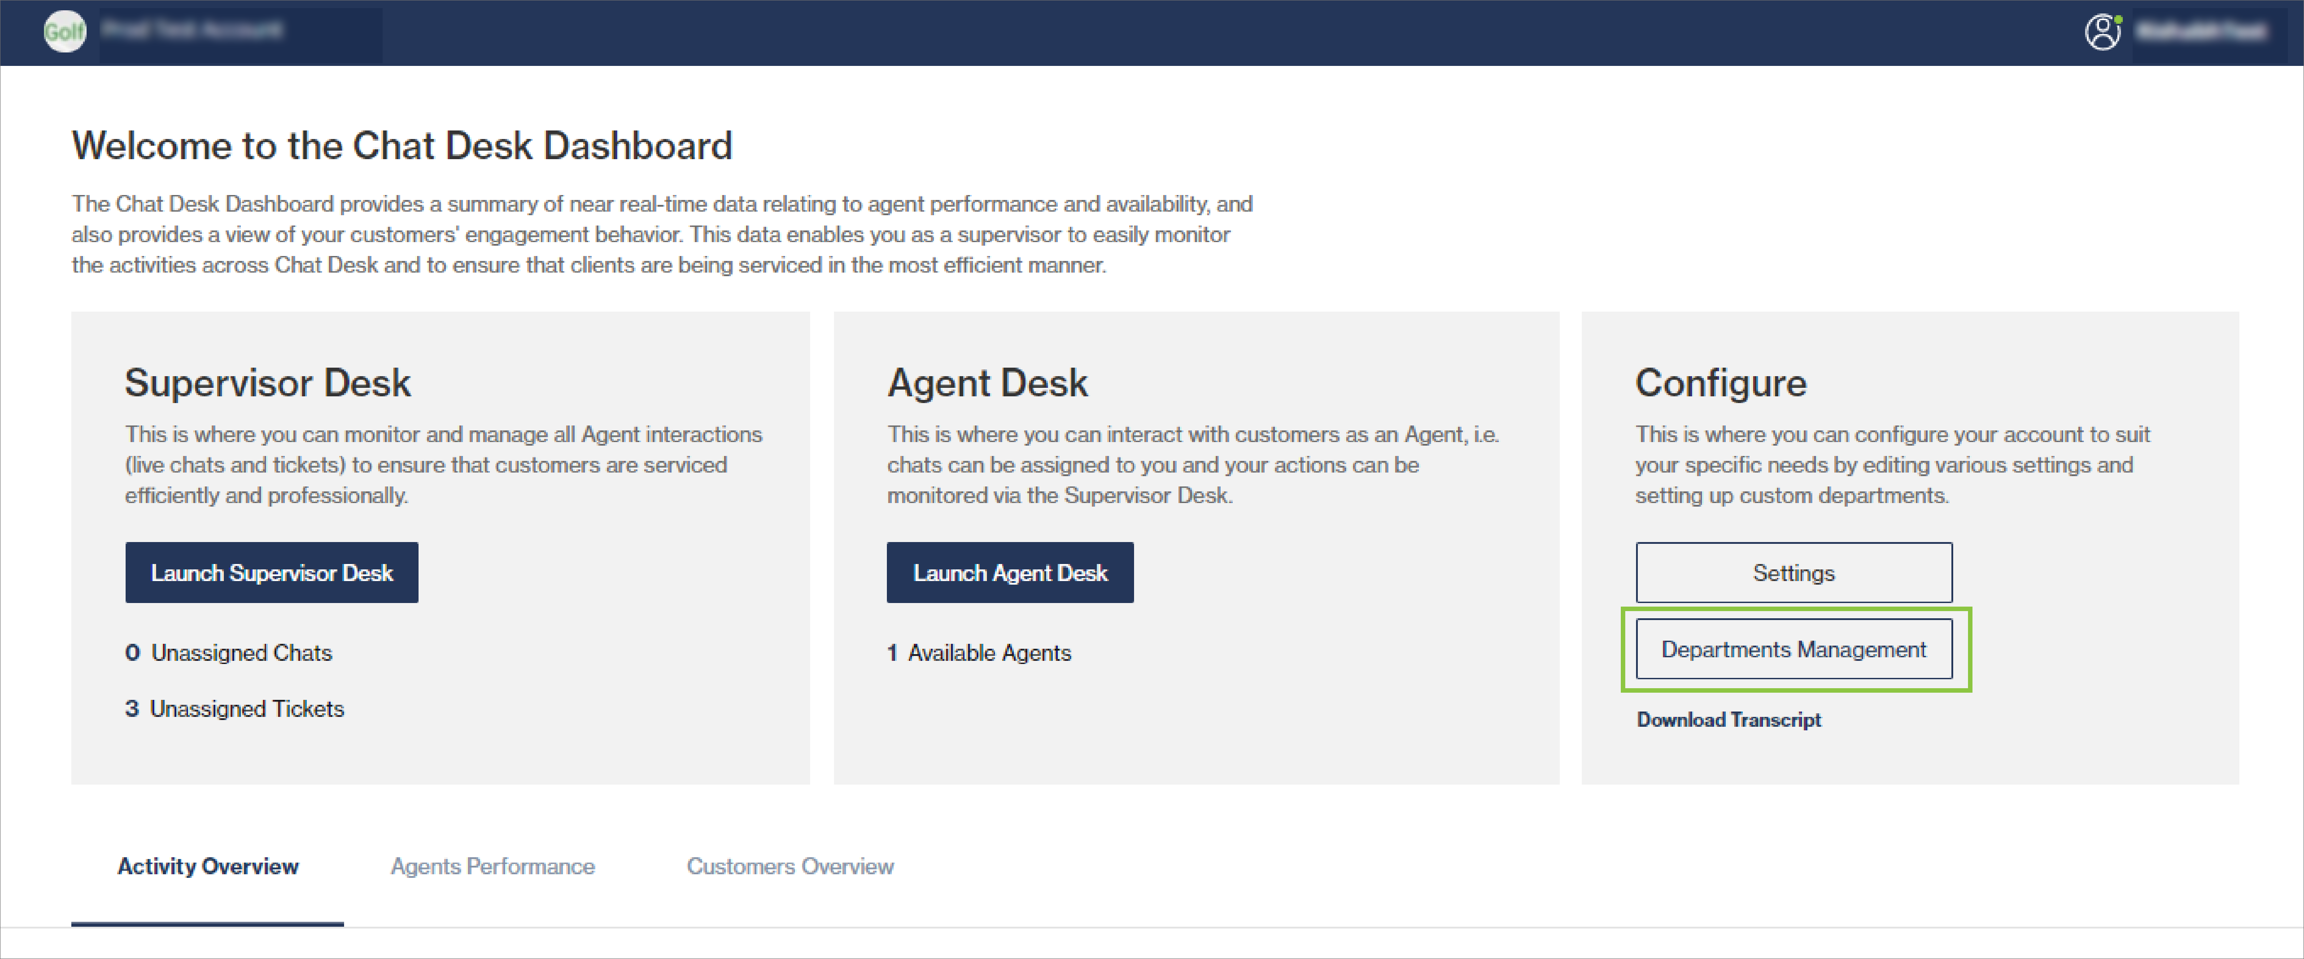
  1. From the , click Departments Management.

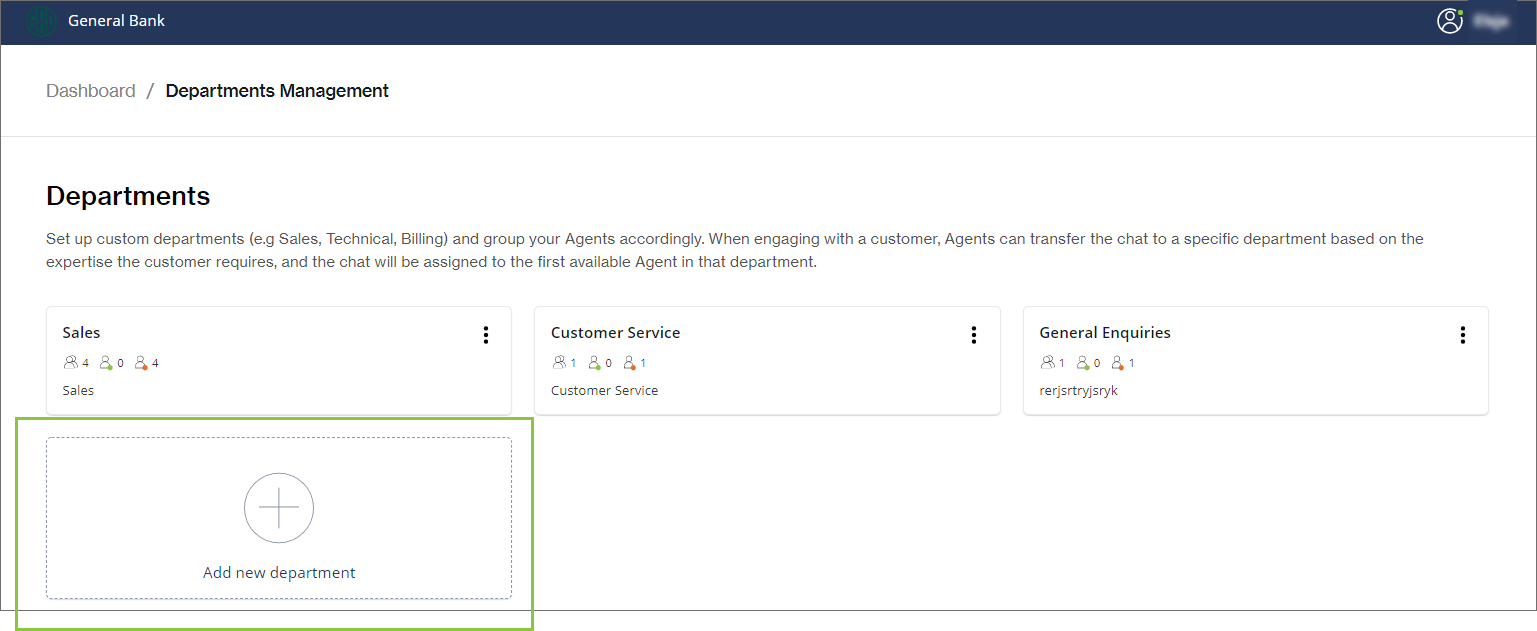
  1. Click Add new department.

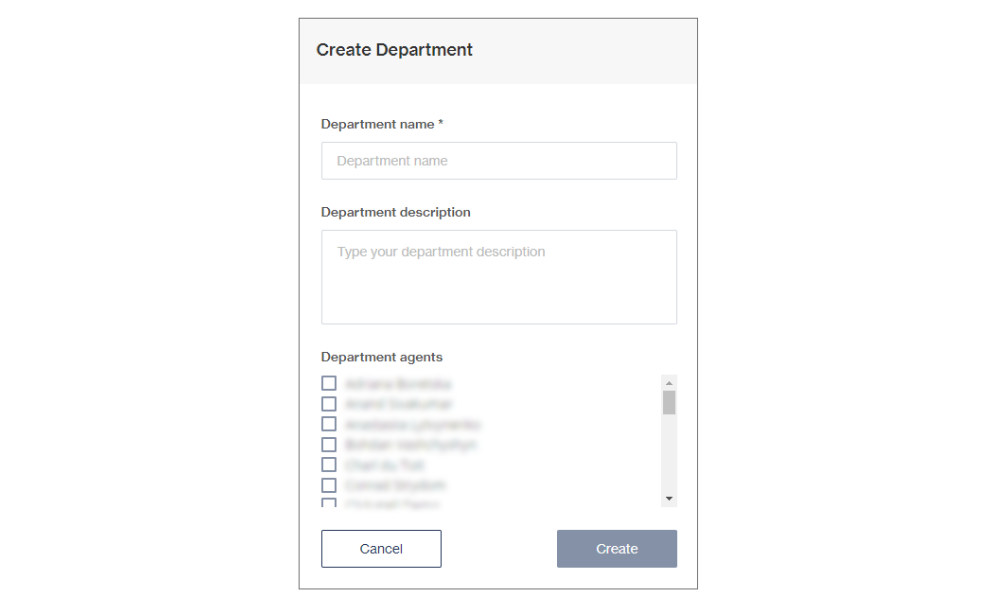
  1. Provide a name and description for the new department.

  2. From the list of agents, select who must form part of this department.

    • An agent can belong to more than one department.

Manage departments

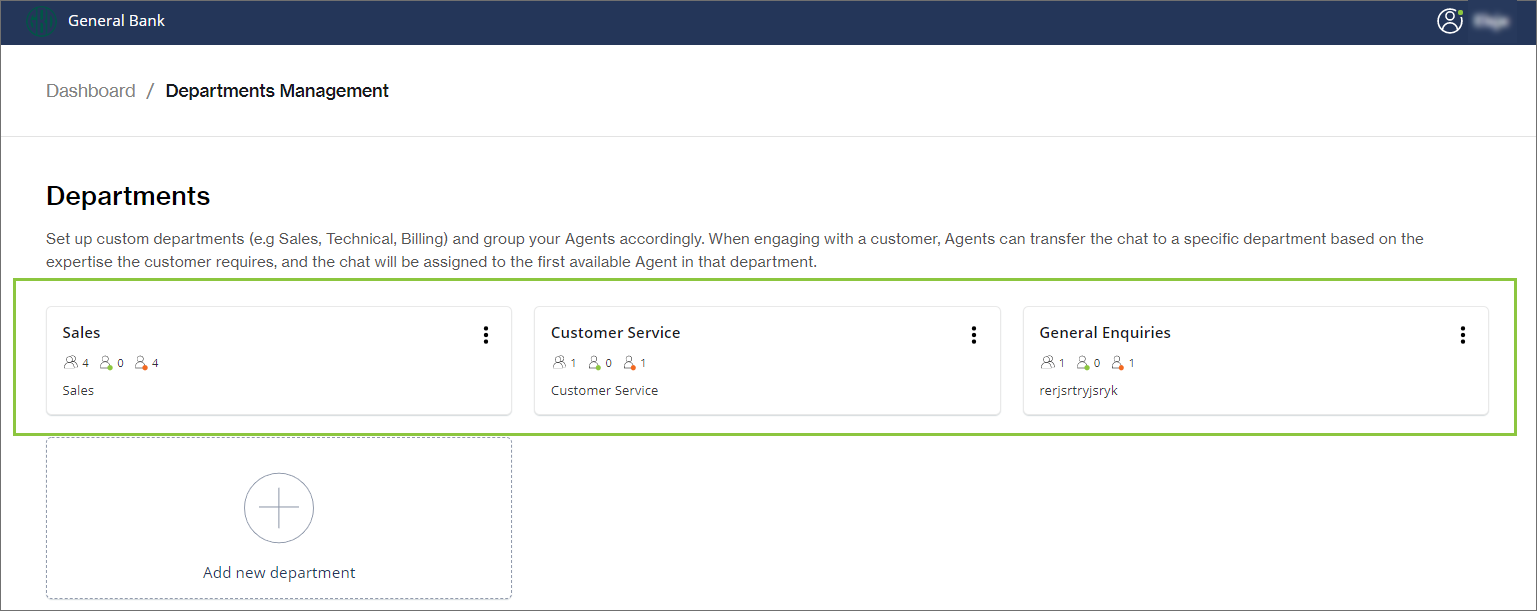
All your departments are shown on the Departments Management screen.

The icons in each block indicate the total number of agents in the department and how many agents are currently online (green dot) and offline (red dot). When hovering over each icon, the names of the agents are shown.

Edit or delete a department

  1. Click on the three dots in the top right corner.

  2. Select Manage department or Delete department.

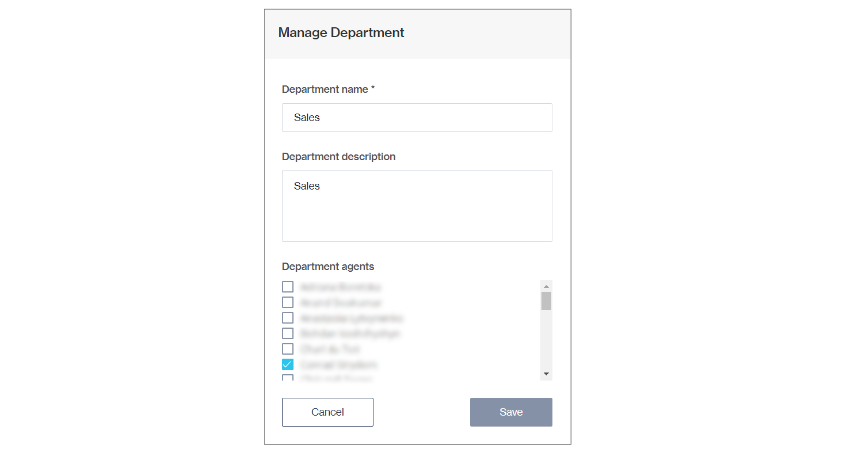
  1. Manage department opens a pop-up where you can edit the department's name and description, and add/remove agents to/from the department.

  2. Click Save.

Click Create to save and add the department to the view.

Under Chat Desk you can set the departments that should serve as the first line of contact. All incoming chats will be routed there first.
💻
Preferences
Departments Management
Chat Desk Dashboard