Create a WhatsApp Business account
As a registered BSP, Clickatell assists you with the application, but we do not have control over the approval of your application.
You need a verified WhatsApp Business Account to start talking to your customers via WhatsApp. Follow the steps below to get this set up with Clickatell's assistance.
Once set up, you can send WhatsApp messages to your customers directly via One API, or our automated messaging (Chat Flow) and agent service desk (Chat Desk) applications.
Add a new account & profile
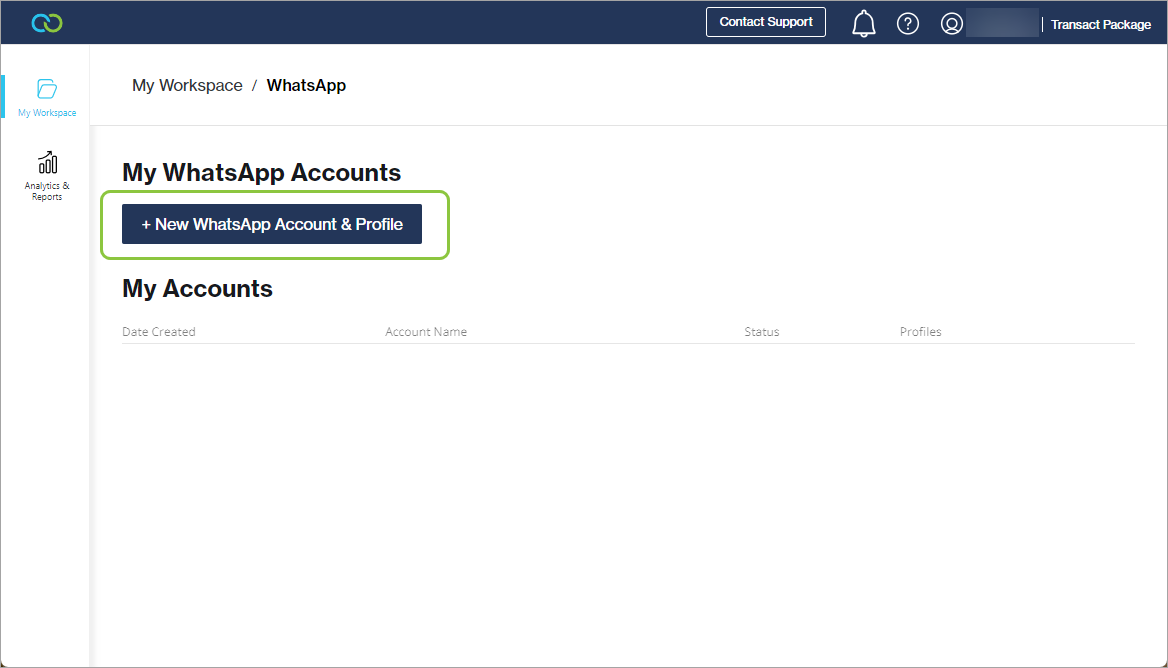
In your Clickatell Portal, navigate to My Workspace -> WhatsApp.
Click + New WhatsApp Account & Profile.
Complete the sign-up journey in Facebook Business Manager
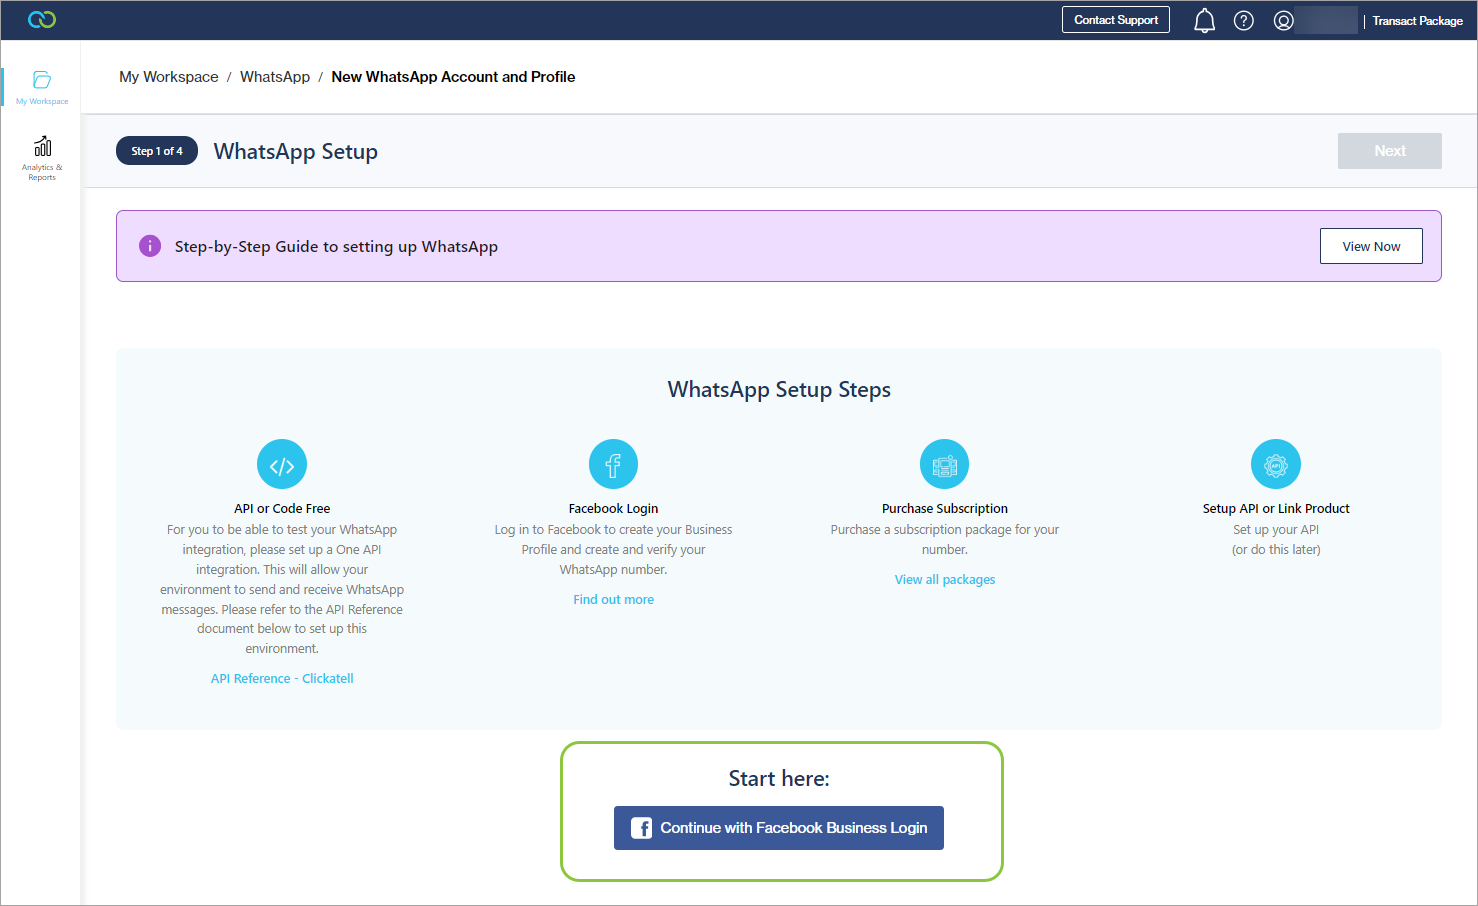
Click the Continue with Facebook Business Login button.
This starts the part of the journey that is completed within your Facebook Business environment.
Follow the prompts to complete the process.
You must complete the entire flow once you start. You will have to start over if you exit the process before the end.
See here for more details on completing the steps inside the Facebook environment,
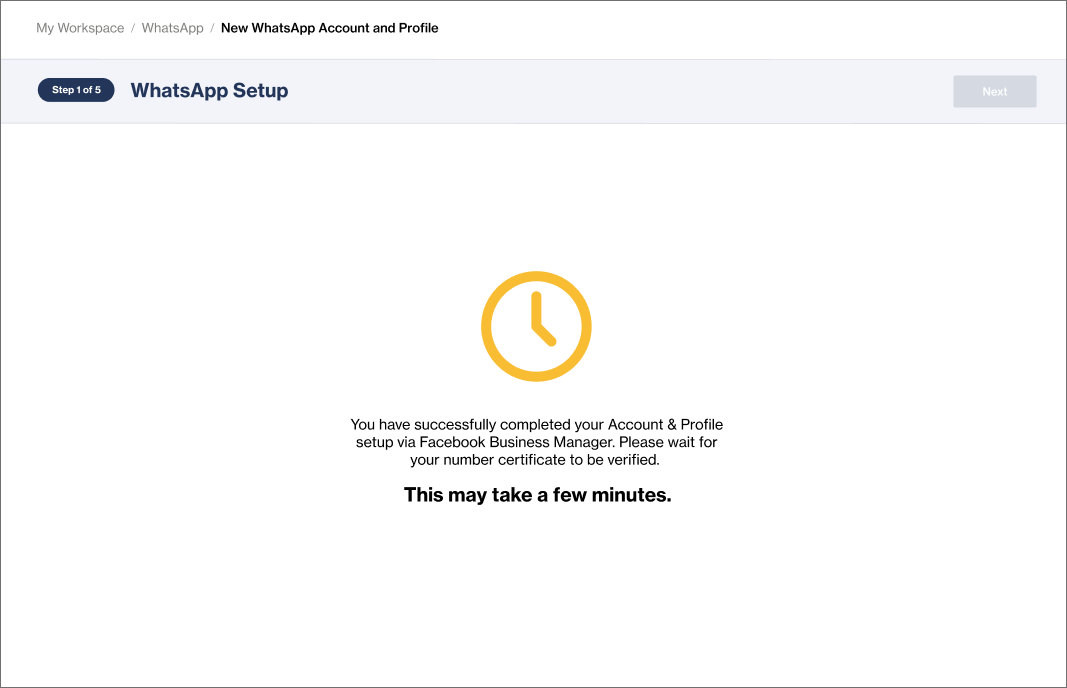
Once these steps are done, you are returned to the Clickatell Portal. You may have to wait a few minutes for Clickatell to retrieve your information from Facebook.
Add a WhatsApp Subscription
You receive a specific WhatsApp subscription as part of your package. Click Next to create your profile (see below).
Link your API
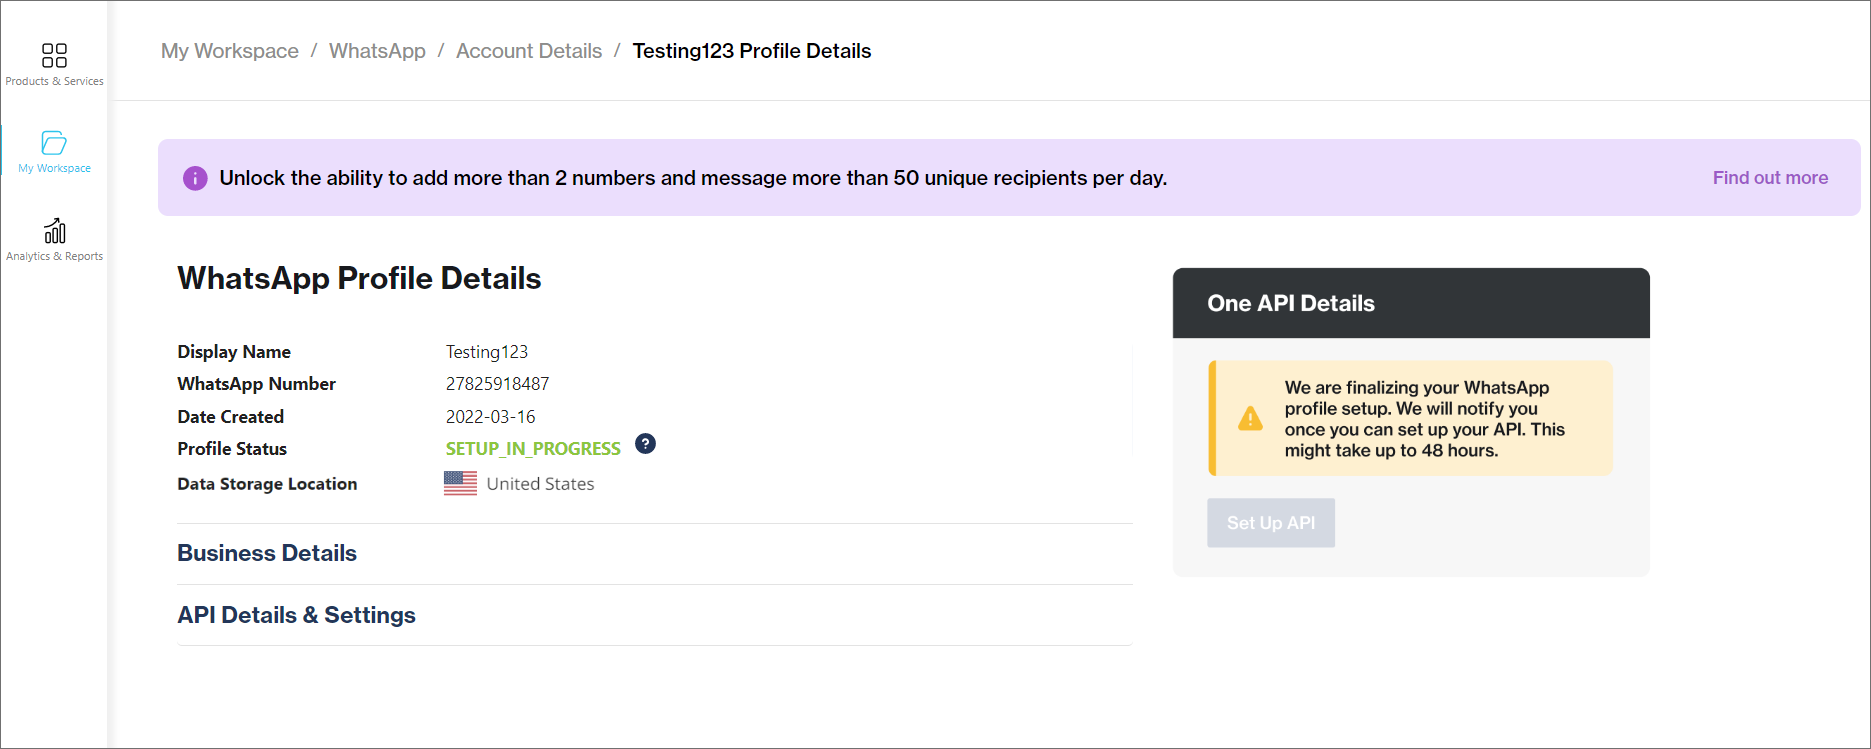
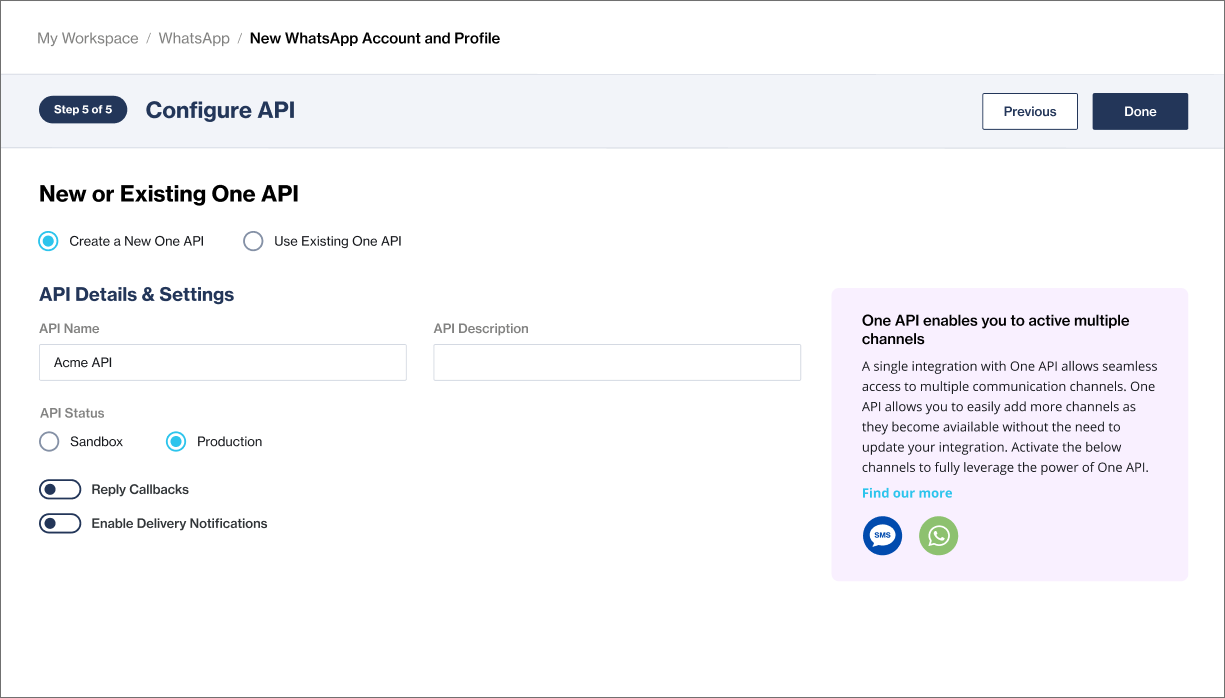
Once your profile status changes to "Active", click the Set Up API button.
Select Use Existing One API and choose the API already added for you.
You can adjust some details.
Click Done.
View & test your integration
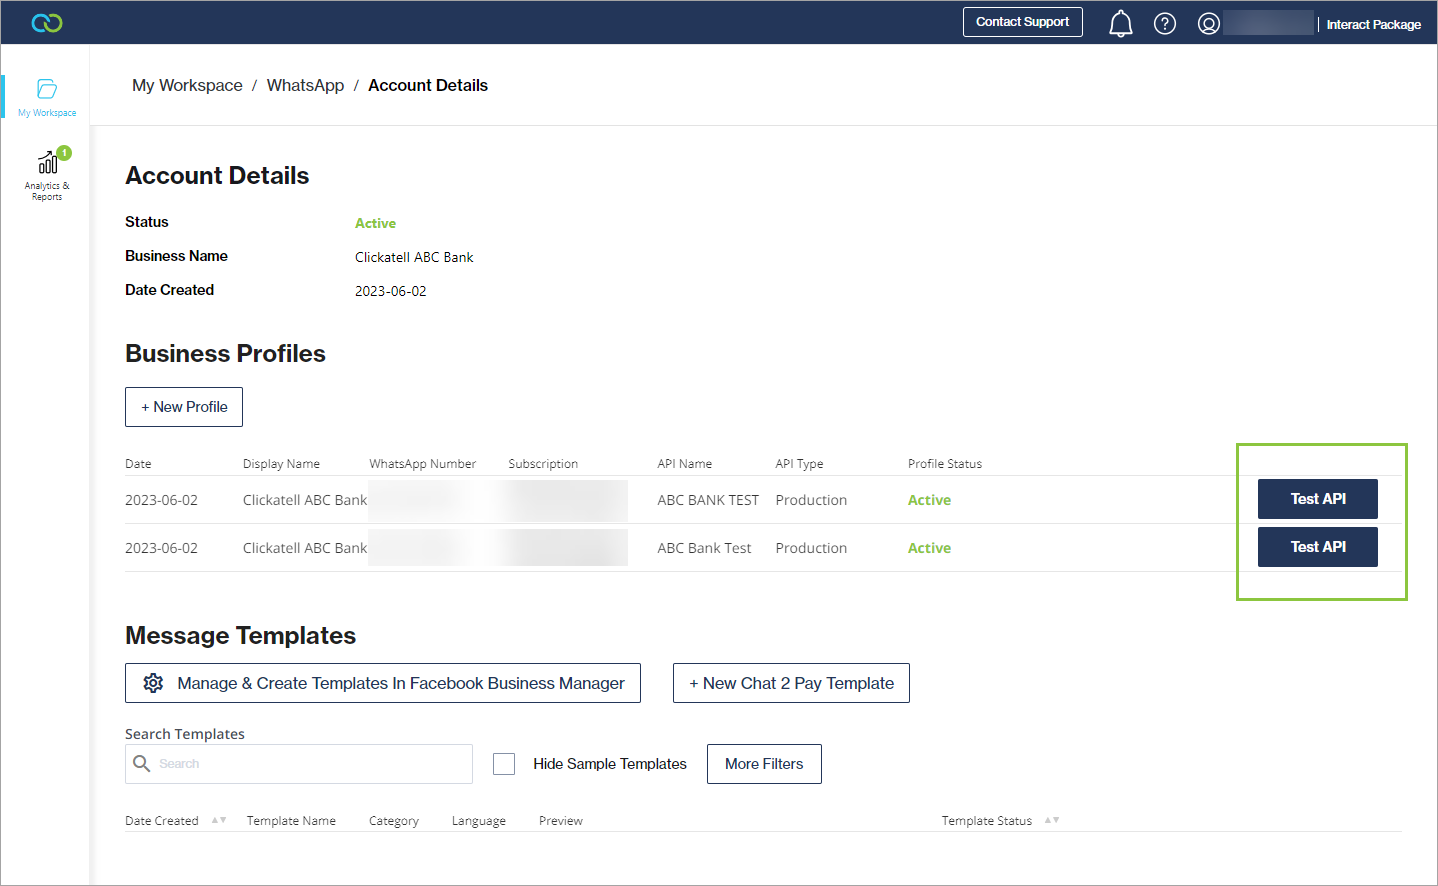
You can now test your integration.
You can also view your Business Details and view and manage your API Details and Subscription.
Note that, although you can start using your API, you are limited to the following until your business is verified:
Adding 2 numbers to your account
Sending business-initiated templated messages to a maximum of 250 unique recipients per day
Unlimited user-initiated messages
To remove these limitations, verify your Business Account.
Last updated