
Find configuration details - Shopify
When adding and activating this integration in Clickatell, you'll be prompted to sign in to Shopify and install the app.
When you add a new Shopify configuration, there are two required fields you have to add in the Clickatell Portal:
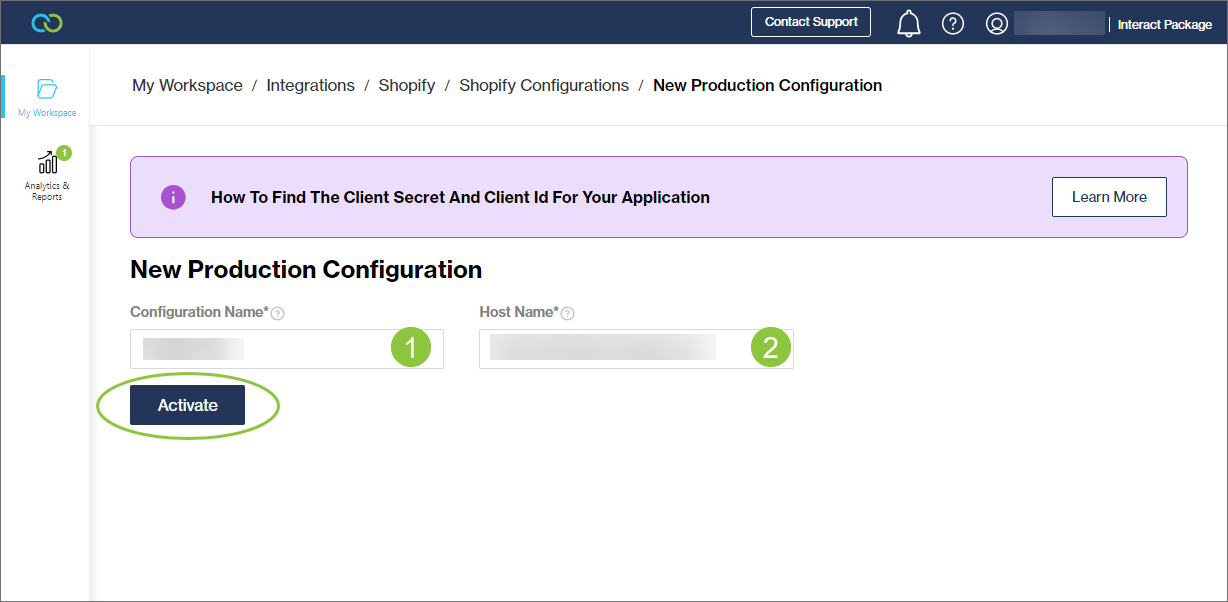
1. Configuration Name
Give a name to your integration so you can easily identify it.
This can be anything (max. 30 characters).
2. Host Name
Your Host Name is unique and is the first part of your URL when logged into Shopify, up until the .com/.
Copy this part of the URL over to the Clickatell Portal as the Host Name.
Example hostname: https://clickatell.myshopify.com/