> For the complete documentation index, see [llms.txt](https://guides.clickatell.com/broadcast-messenger/llms.txt). Markdown versions of documentation pages are available by appending `.md` to page URLs; this page is available as [Markdown](https://guides.clickatell.com/broadcast-messenger/responses-and-opt-outs/manage-opt-outs.md).
# Manage opt-outs
{% hint style="info" %}
All timestamps in relevant time zones.
{% endhint %}
The *Opt-Out* *Manager* is accessed by selecting *Opt-Outs* in the left-hand navigation.
The *Opt-Out* *Manager* lists all recipients who do not want to receive further communication from your business. When a campaign is sent, the campaign’s recipient list is checked against the opt-out list. Recipients who opted out are flagged and will not be sent a message.
In the *Opt-Out* *Manager*, you can:
* View a table listing all opted-out numbers on this account and the date and time they unsubscribed.
* Search for a number and export results.
* Filter on the channel the end-user opted out of (SMS, WhatsApp, All).
* Add numbers to the opt-out list, either as a single number or a bulk upload via a .xlsx or .csv file (max. 100MB).
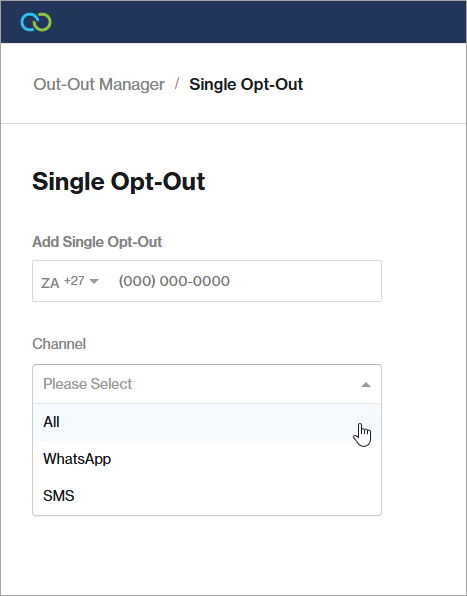
### **Single opt-out**
When adding a "**Single Opt-Out**”, you can add a WhatsApp or SMS number or both.
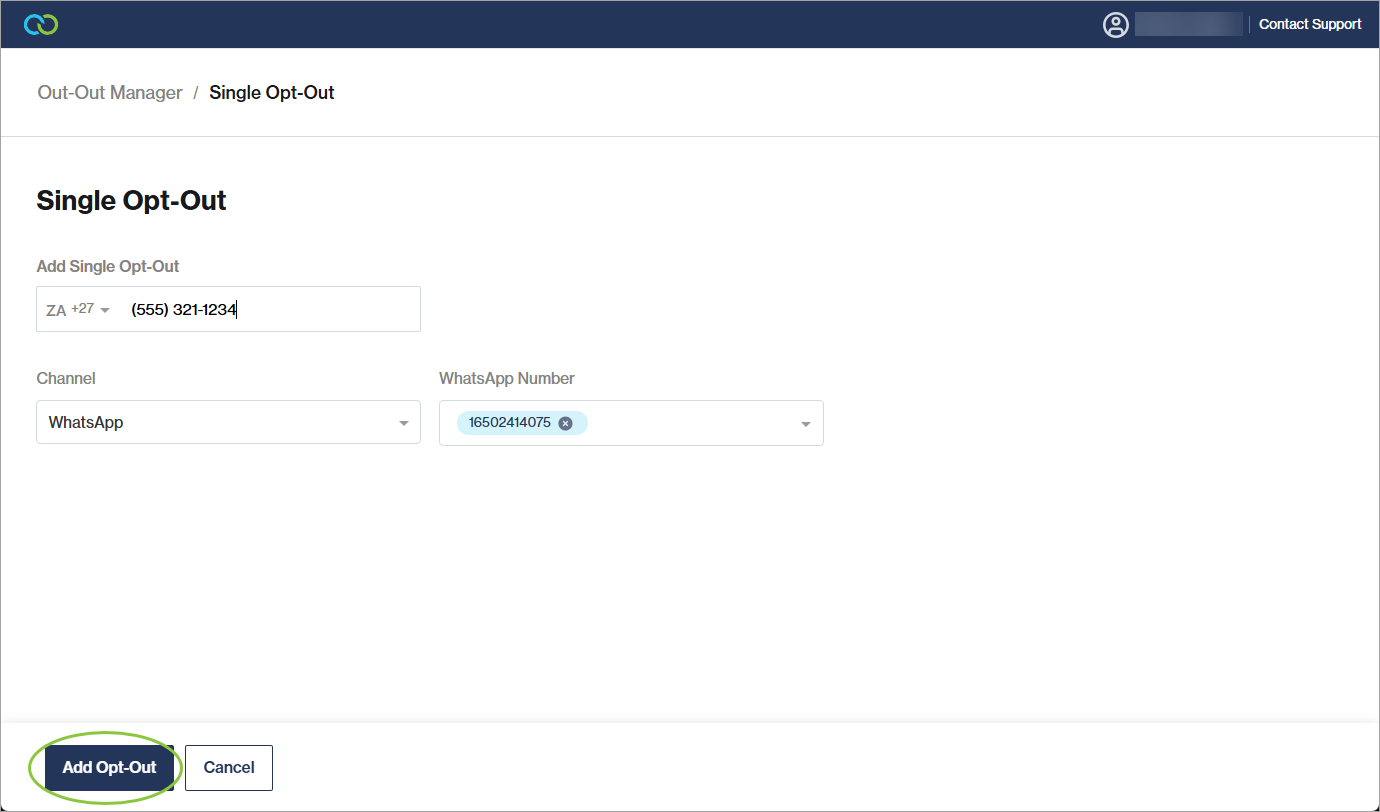
When selecting a WhatsApp number that wants to opt out, you must also select the source WhatsApp number(s) they are opting out of.
Click *Add Opt-Out*.
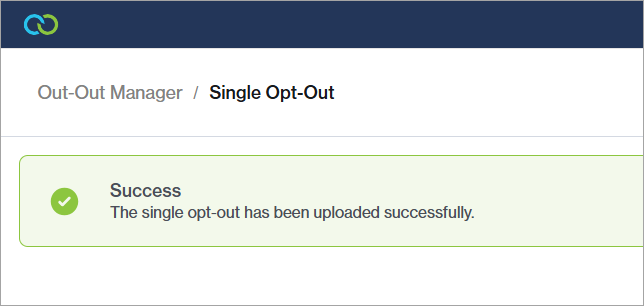
A confirmation banner is shown, and the number now appears in the opt-out table.
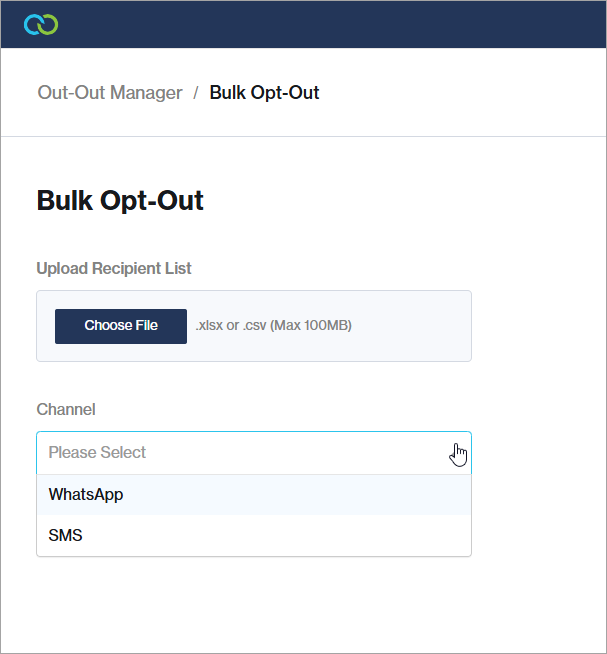
### **Bulk upload**
When **bulk uploading opt-outs**, you choose an .xlsx or .csv file to upload. While the file uploads, select the channel (WhatsApp, SMS) these numbers want to opt out of. If WhatsApp, you must also also select the source number(s).
Once the file is successfully uploaded, you must select the column in your file containing the number(s) that want to opt out.
Click *Add Opt-Out*.
A confirmation banner is shown, and the number now appears in the opt-out table.
{% hint style="info" %}
To **add or remove** numbers to/from this list, upload a new file. The new file replaces the existing list on this tab.
{% endhint %}